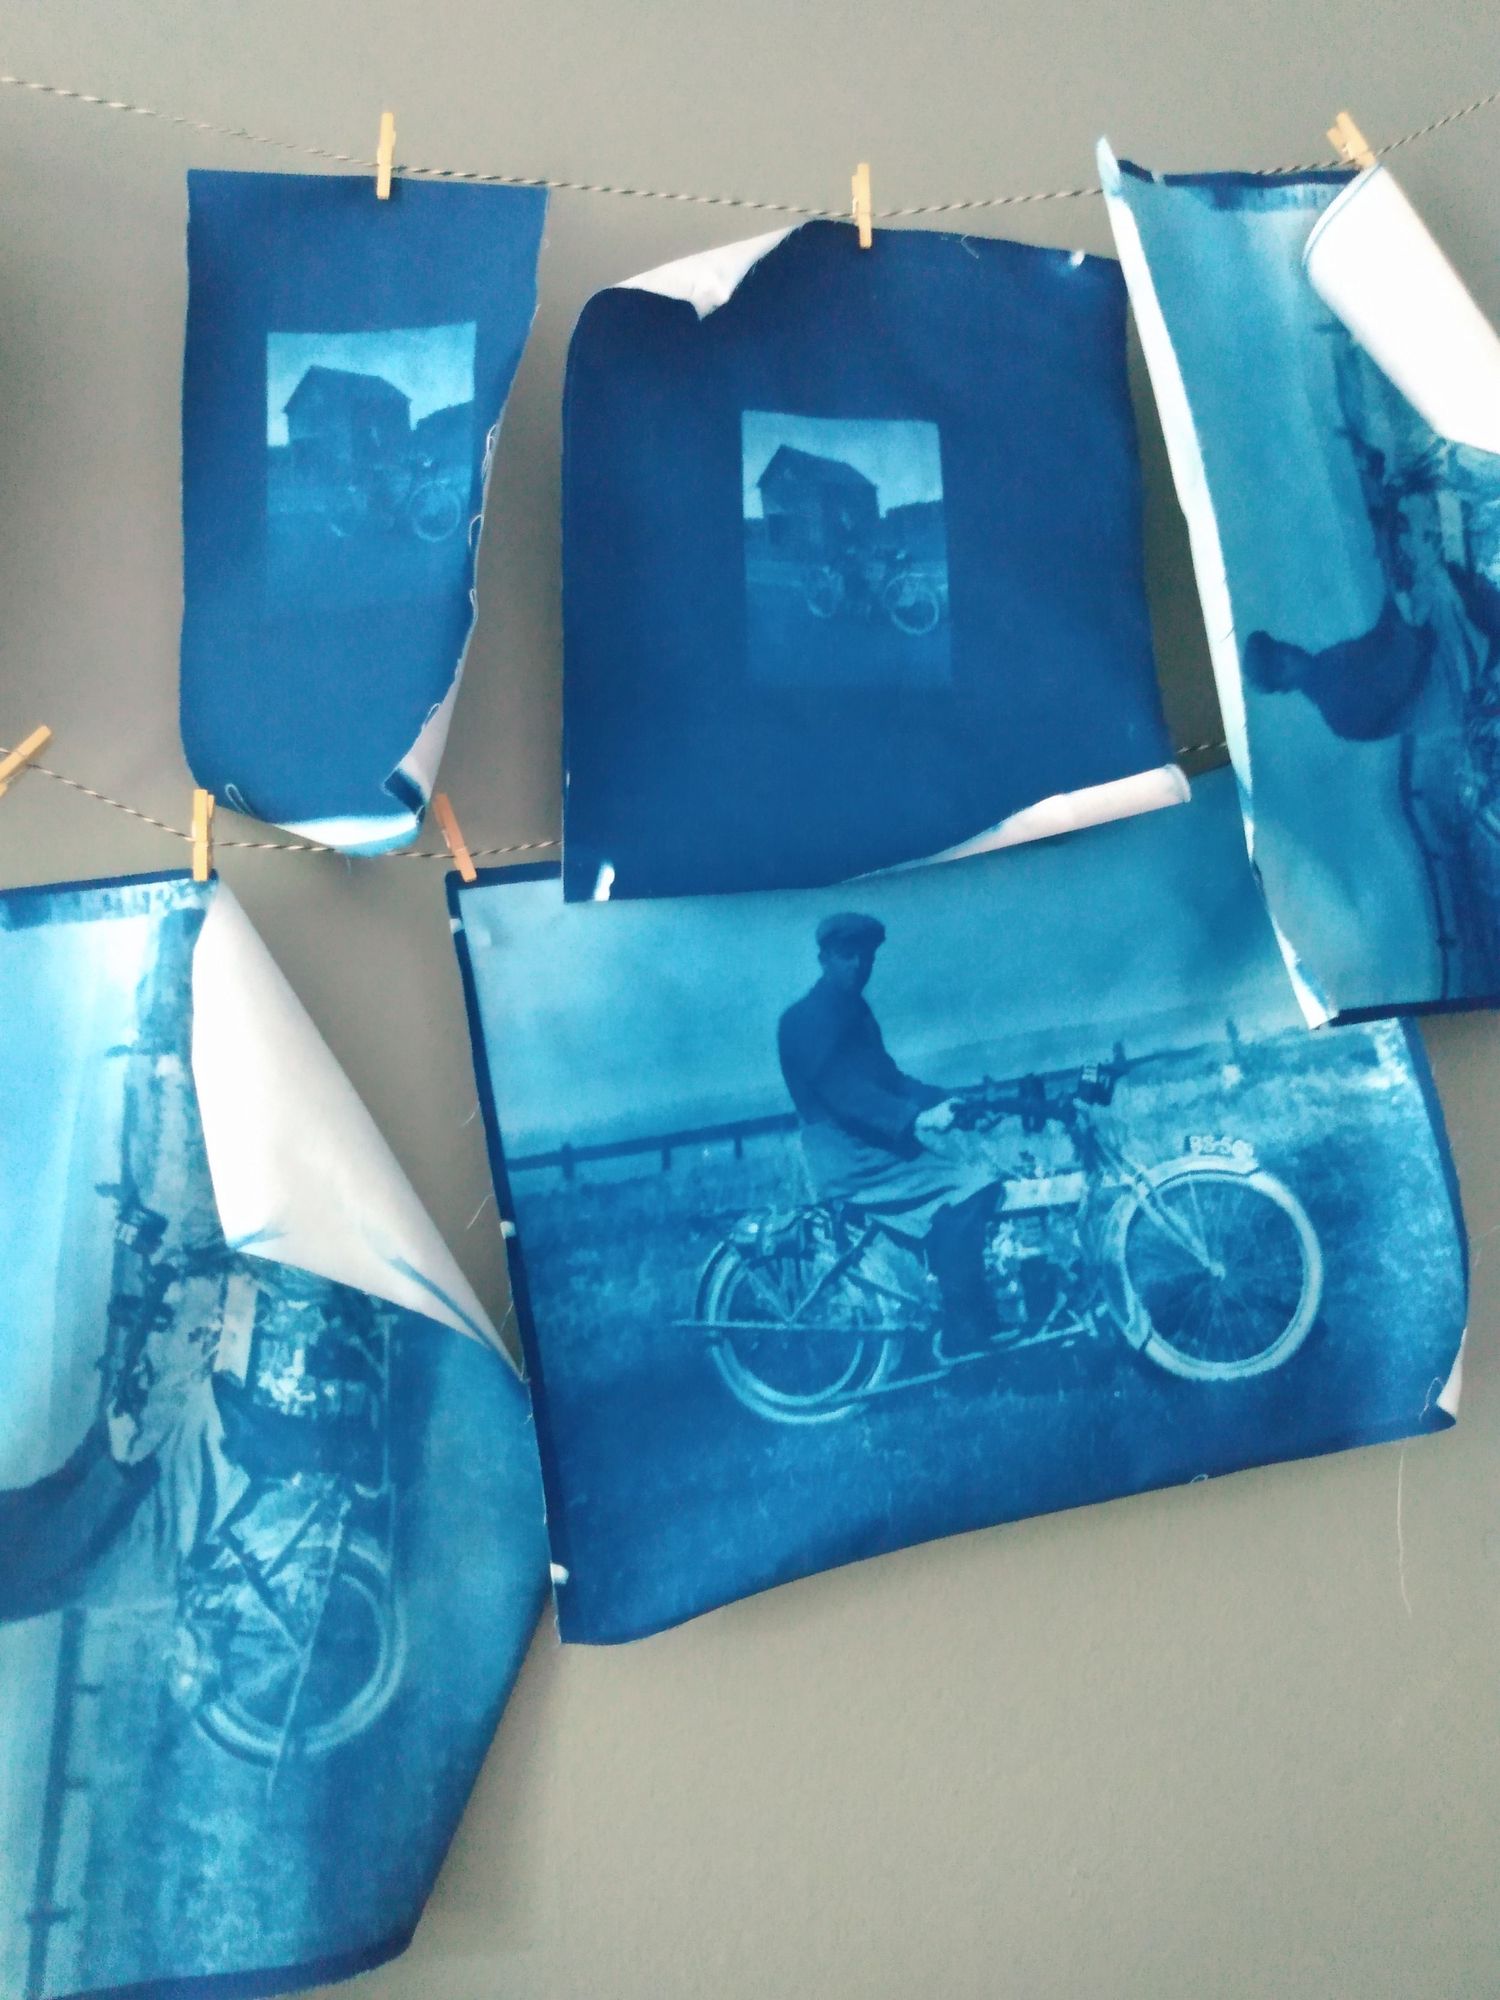
I learned by trial and error how to make cyanotype prints. I gifted mine to my dad for father's day, and one for my grandma too. I had fun making these and I hope you do as well!

1) Create a film negative
First I used digital scans of the images that I edited to add a bit more sharpness. If there were marks on the scan or spots of discoloration due to the age of the photo, I did some gentle restoration digitally. I then reversed the colors to make them film negatives. If you already have film negatives around, you just want to resize them so they are the same size you want of cyanotype prints. Lastly, print them out on transparency sheets you can get from the craft store.

2) Expose them to sunlight
After some trial and error with this step, I learned to secure the negatives on top of the cyanotype fabric in a closet or a very dark room with clips and clothespins. I then placed those inside plastic sheets so that I could put rocks onto the sheets outside so the breeze wouldn't blow them away, and the rocks wouldn't show up in the images. I then transported those inside a zipped laptop carry case to bring them outside safely without causing shadows or imperfections on them, as well as to make sure they were exposed for the right amount of time. That turned out to be only 6 minutes in the full sun!

3) Submerge in cold water
After the images were exposed, I placed them back into the laptop bag and took them to the kitchen sink. I had two large trays ready - one with enough cold water to submerge the prints in and the other one was totally dry. I dunked each print into the wet tray and swished it around before transferring them to the dry tray to dump the water and fill it again. I repeated this step again and again until the water ran clear after the last dunking.
Contrary to popular internet recommendations, what worked best for me was to totally submerge the prints, and not run them under the tap or they would end up with water spots.

4) Hang and air dry
I let them dry for at least 24 hours. The package directions said the blue would reach its optimal level of oxidation with that amount of time. After they dried, I sewed a small label on the front made from a smaller cyanotype of my grandma's handwritten caption. Now that they were properly captioned, it was time for them to be gifted!
This was such as satisfying project! I did end up making multiple prints also for myself and to gift to my grandparents as well. Now that I am satisfied with my processing of these, I'm brainstorming what to make cyanotype prints of next!